The bathroom is one of the most commonly used areas in a household, yet it can also be one of the most challenging rooms to keep clean. High humidity levels, heavy foot traffic, and constant water exposure are just some of the reasons why proper bathroom cleaning is essential.
This comprehensive guide will tell you how to clean your bathroom correctly to keep it safe, hygienic, and inviting for all of your household members. You’ll discover step-by-step methods for sanitizing each part of the bathroom and tips on natural solutions. On top of this, you’ll also learn how to prevent mold and mildew growth and reduce the time you spend scrubbing in the future.
Preparation for Efficient Cleaning
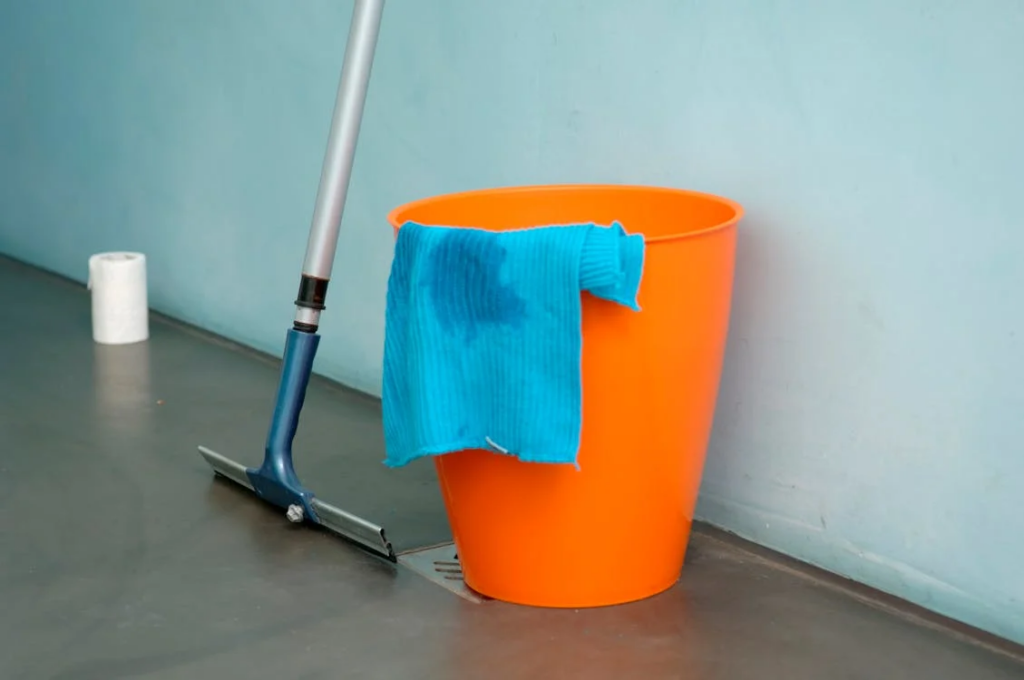
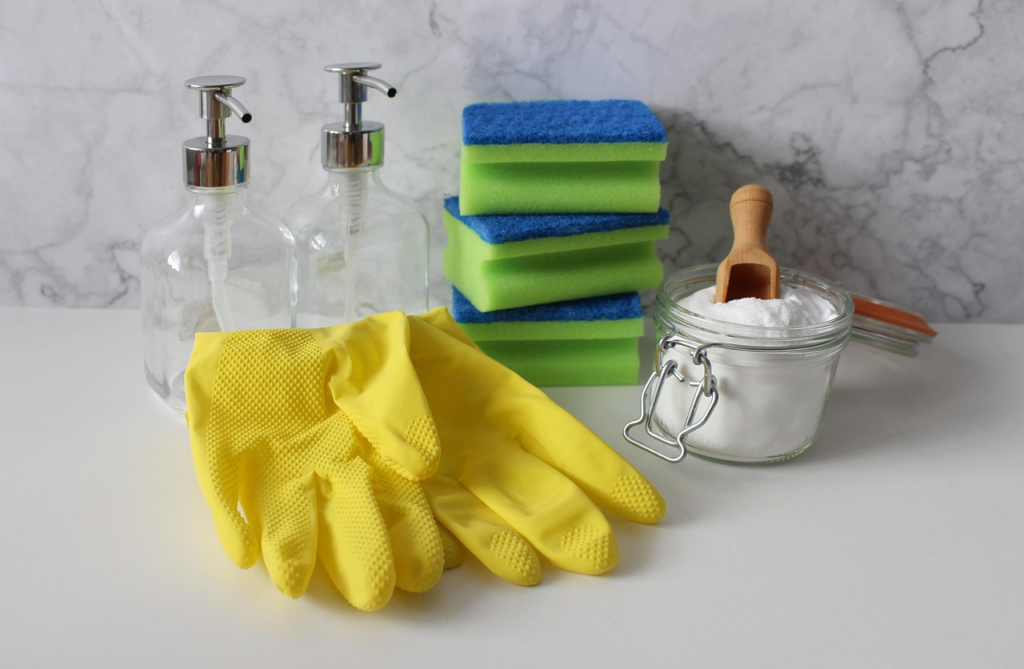
Before you do the actual bathroom cleaning, gather the necessary supplies and set up a plan. A well-organized approach will help you save time, cover all areas systematically, and maintain a high standard of hygiene. The supplies for cleaning you need include:
- All-purpose cleaner for various surfaces like faucets and countertops.
- Disinfectant that’s EPA-registered or a natural alternative with antibacterial properties (such as white vinegar).
- Glass cleaner for mirrors, shower doors, and other glass surfaces.
- Sponges and bristle brushes of different shapes and sizes to reach difficult nooks and crannies.
- Microfiber cloths to dust and polish without streaks.
- A mop to thoroughly clean floors.
- Protective gear like gloves, masks, and eye protection for added safety (if you are using chemical cleaners).
As soon as you have everything you need, start removing any clutter from the countertops, organize personal care products, and store everything in cabinets or drawers. Decluttering first makes the process easier, and you won’t have to move things around while cleaning.
If you are using chemical cleaners, good ventilation in your bathroom is essential. In this case, open a window or turn on the exhaust fan to help the chemical fumes dissipate.
Proper airflow also assists in mold and mildew prevention by reducing humidity in the bathroom. Depending on the size and current condition of your bathroom, plan around 30 minutes for light cleaning and at least an hour for a deeper approach.
Step-by-Step Cleaning Guide
Now that you’re all set, let’s tackle bathroom cleaning step-by-step. It’s best to divide the tasks into focus areas, like sinks, tubs, mirrors, toilets, and floors, so that every surface is cleaned properly.
Cleaning the Sink and Faucets
Sink cleaning is typically one of the easier places to start. Begin by cleaning the sink and moving from there, as this technique helps reduce the chances of re-contaminating already-cleaned surfaces. Here’s what to do next.
- Rinse and clean dirt: Remove any soap residue or hair that might be lingering around the drain. Quickly rinse with warm water to soften dried-on soap spots and make them easier to scrub away later. You can add a quick wipe-down to your routine for better cleaning maintenance.
- Apply a suitable cleaner: For sink cleaning, you can use a specialty or all-purpose bathroom cleaner. Spray or apply the cleaner to the entire basin, faucet spout, and faucet handles.
- Start scrubbing: With a cloth or soft sponge, wipe down the fixtures and basin. Pay extra attention to the edges around the faucet base, as mineral deposits can easily accumulate here.
- Rinse: Once you’ve scrubbed away visible dirt, rinse the basin with warm water. Dry everything with a microfiber cloth to prevent water spots.
- Polish the faucets: For added sparkle, use a clean and dry cloth or special metal polish. Weekly sink cleaning helps keep your space germ-free.
Cleaning Mirrors and Glass Surfaces
A clear and streak-free mirror can make your bathroom look bright and more spacious. To keep your mirrors gleaming, follow these steps.
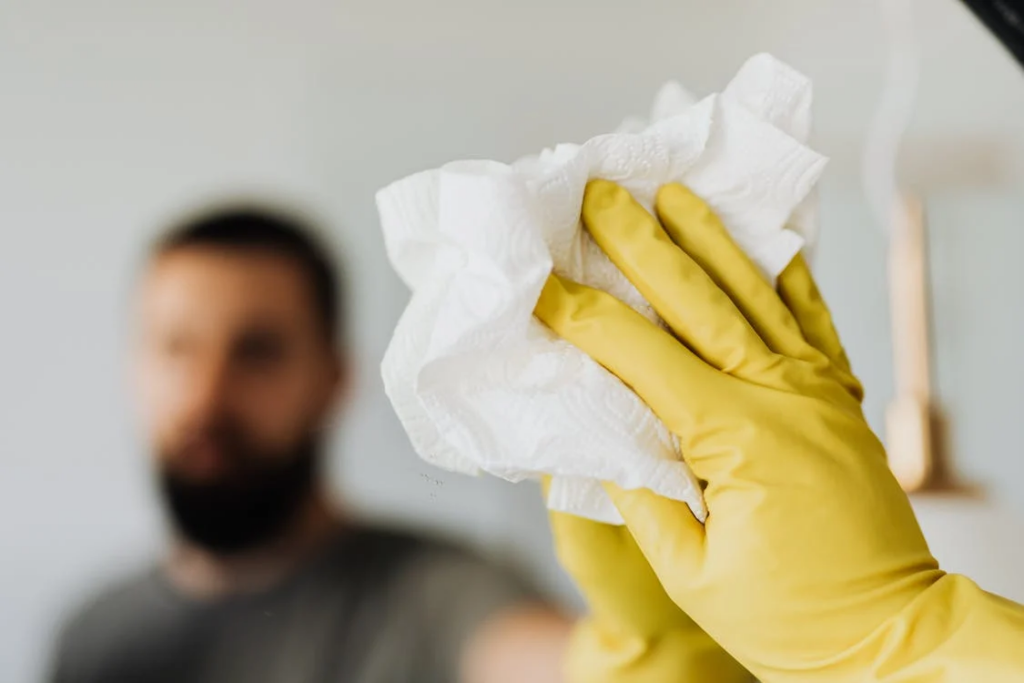
- Dust before spraying: Use a duster or microfiber cloth to remove surface dust. Otherwise, applying cleaner on dusty glass can lead to smearing.
- Spray glass cleaner: Choose a product made for glass specifically or create a homemade solution with water and vinegar. Cover the glass surface or mirror lightly with the solution.
- Wipe using an “S” pattern: Use a side-to-side motion and move downward in an S-shaped pattern. This technique helps reduce streaks. Check the surface from different angles, and if you see any remaining streaks, give them a quick buff with a clean microfiber cloth.
Scrubbing the Shower or Bathtub
Regular tub or shower cleaning prevents soap scum buildup and tough water stains. These are some of the best ways to keep your surfaces looking brand-new.
- Pre-rinse: Run hot water for a few seconds to loosen debris and any product residue. You can also use the showerhead to target hard-to-reach corners and edges.
- Apply shower-specific cleaner and scrub in sections: Choose a solution for shower cleaning that won’t damage the material. For instance, if the shower is made with fiberglass, avoid abrasive powders as they can scratch the surface.
If you prefer natural cleaning, consider making a paste from water and baking soda. The mildly abrasive paste can handle moderate grime without causing damage to most surfaces.
- Rinse and dry: Rinse your shower or tub thoroughly, as leftover cleaning residue can lead to streaking or dull surfaces. If you can, open a window or turn on the fan to speed up drying.
If your current tub or shower is damaged or outdated, it might be wise to install a new enclosure to reduce future bathroom cleaning time. Modern surfaces are designed for easy maintenance, and they often feature coatings that resist mildew and repel grime.
Cleaning the Toilet
For many people, toilet cleaning is the least appealing task, but keeping it sanitary is important for overall health. These steps will help make cleaning your toilet a breeze!
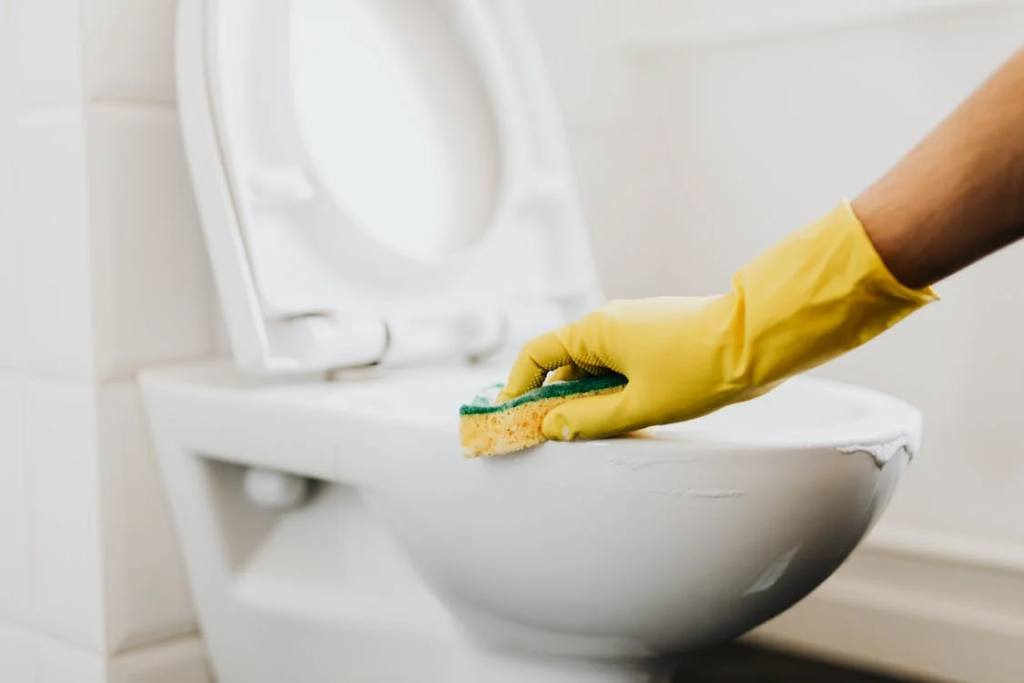
- Add cleaner to the toilet bowl: Use an all-purpose bathroom disinfectant or a toilet-specific product and aim under the rim. This is where bacteria can hide, so let the solution sit there while you work on the rest of the toilet.
- Wipe down exterior surfaces: Spray disinfectant on the toilet seat, lid, tank, and flush handle. Wipe it all down with a microfiber cloth or disposable wipes.
- Scrub inside the toilet bowl: With a curved toilet brush, reach under the toilet rim and remove mineral buildup and odor-causing bacteria.
- Flush and check: After scrubbing, flush the toilet. If you see leftover stains and marks on the toilet bowl, repeat the process. Also, sanitize the brush holder regularly, as stagnant water in the container can also breed germs.
A quick note: Don’t forget to wash your hands thoroughly after cleaning to avoid spreading germs to other areas of your home. In busy households, quick toilet cleanings every two days help prevent stains and buildup. This is a simple routine that prevents stains on the toilet bowl from setting.
Scrubbing Floors and Tiles
Over time, water splashes and product spills can settle on the bathroom floor. Regular floor cleaning is needed to remove hair, and grime, and even prevent slips.
- Vacuum or sweep first: Remove all loose dirt, debris, and hair from the bathroom floors. For quicker results, use a vacuum with a hard-floor attachment.
- Prepare the cleaning solution: Depending on your floor type, choose the most suitable cleaning product. Tile floors can usually be cleaned with a multi-surface solution, while laminate or vinyl may require a special formulation.
- Start scrubbing: If your floor has tile grout lines, grab a small brush to reach into crevices. This step helps with mold and mildew prevention, especially near tubs and showers. Rinse the floor with a dry mop or towel, and dry it completely to avoid safety hazards like slips.
What about Natural Cleaning Products?
If you don’t want to use harsh chemicals in your home, you can opt for natural choices that are safe and eco-friendly. As an option, you can also find commercial green cleaning products. However, let’s focus specifically on natural cleaning methods to simplify your process.
Vinegar and baking soda are classics that you can use for a variety of tasks, including sink cleaning. The acid in vinegar breaks down hard water stains while baking soda’s abrasive qualities lift grime and dirt.
Some homeowners enjoy adding essential oils like tea tree and lavender for a pleasant fragrance and potential antibacterial properties. If you’re looking for a more natural air freshener for your bathroom, you can use around 15 drops of your favorite essential oil.
Lavender and lemon are great options, but you can choose any essential oil you like. You also need a bit of white vinegar and water. Combine everything in a spray bottle, shake it up, and spray to refresh the air in your bathroom. Natural alternatives offer many benefits, including increased safety for children and pets, eco-friendliness, and an affordable alternative to more expensive products.
Tips for Maintaining Cleanliness Between Cleanings
You don’t have to spend hours each week scrubbing surfaces to keep your bathroom looking spotless. Instead, add small and consistent habits for hygiene maintenance into your routine to keep your space looking good!
- Spend a few minutes wiping down every day: After washing your face or brushing your teeth, wipe away any water splashes from the faucet or sink. Also, a quick pass with a shower squeegee after washing your hair can also reduce water spots and eliminate mildew formation on walls and doors.
- Manage moisture in the bathroom: Mold and mildew grow in damp environments, so make sure your bathing space is well-ventilated.
- Store supplies nearby: Keep basic cleaning supplies in your bathroom cabinet for easy access. As soon as you see a spill or smudge, clean it right away.
- Wash towels and rugs: Bacteria love damp bathmats and towels, so clean them regularly. If you notice signs of mold, throw these items away.
That’s it, bathroom cleaning is made simple! However, if you find that your current bathroom layout or fixtures are making routine maintenance difficult, it might be time for an update.

Bottom Line
You don’t need expensive tools or complicated procedures for effective bathroom cleaning. It does demand consistency and attention to detail, though. A structured plan will help you achieve a clean and hygienic environment that reflects the care you put into your home.
Maintaining moisture control and addressing minor issues like soap scum and spills will keep your space fresh for longer periods. However, sometimes a simple wipe-down isn’t enough.
If your floors, fixtures, or shower are significantly outdated or damaged, a professional remodel may save you from ongoing headaches and potentially high repair costs. Reach out to Statewide Remodeling, experts with nearly 30 years in the remodeling industry.
We specialize in creating beautiful and long-lasting bathroom solutions that align with your lifestyle. Our team offers factory-certified installations and a lifetime warranty so you can invest in a bathroom that’s elegant, practical, and easy to maintain.
Frequently Asked Questions
How do I properly deep-clean my bathroom?
To deep clean your bathroom, start by removing all items from shelves and countertops. Then, clean all major areas one after the other: Start with the sink, then proceed to the toilet, shower, and floor. Use strong disinfectants or highly effective natural alternatives for areas with mold and grime. Remember to wipe down cabinet fronts, light switches, and baseboards.
How often should I do a deep clean of my bathroom?
Generally, a monthly deep cleaning session is enough for most households. However, if you have more family members, you might want to deep clean more often. For instance, some people prefer to deep clean every two or three weeks. Regular maintenance, like cleaning the toilet every few days and wiping counters, can extend the time between deep cleans.
How can I prevent mold and mildew in the bathroom?
The key to mold prevention is keeping moisture levels in your bathroom optimal. You can use an exhaust fan, open a window, or the bathroom door after showers to let the warm air out. Also, any leaks or standing water issues like puddles around the tub or dripping faucets should be fixed immediately.


.png)
.png)